
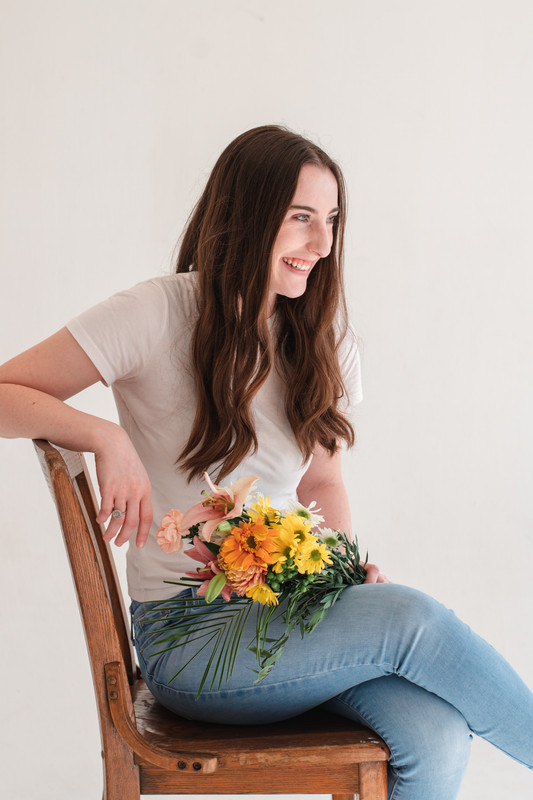
Hello everyone! Today I will be sharing my photography workflow with you all in the hopes that it will help those who may already have a photography business, are thinking about starting one, or would just like a behind-the-scenes look into how a photography business runs.
I started my business (Madalyn Dobbs Photography) in June of 2020. At that time I had a general idea for how I wanted my workflow to look when booking sessions but it wasn't until a few sessions later that I finally figured out a comfortable and efficient process.

Now that I have a workflow set in place when clients book sessions, I can keep track of everything from contracts to payments which makes the process 10x easier. The following process is what has worked for me but if you want to chat about it more feel free to reach out to me through the contact page!
1. Discuss Options
The process of booking a photography session normally begins with a
prospective client reaching out to me via email or Instagram (you can find my photography IG here). Depending on whether or not the prospective client knows what kind of
shoot they want, I usually send them all of the info regarding what photo
packages I offer and answer any questions they may have. Sometimes this
process is quick and other times I may not hear back for a while as they
make their decision.
2. Determine Details
Once the desired photo package is chosen and the client wants to continue the process of booking a session, we will both decide on the location, date, and time that the shoot will be at. Once all details have been finalized and we can both ensure there will be no scheduling conflicts with the chosen time, I will begin writing up a contract for the client that formally begins the client relationship.
3. Edit, Send, and File Contract
I edit my contract with information such as the client's name, session details, and my signature. Once the client sends the contract back to me with their signature, I file it on my computer for future reference if needed.
4. Create, Send, and File Booking Invoice
At this point, I create the booking invoice and send it to the client via email. For my business, a retainer fee is needed to save the date for the session and this fee is equal to 25% of the package price for the session.
5. Update Binder
I have a binder to keep all of my photography business information organized and easily accessible. Before each session, I will update a log I have of each new session and fill it out with session information and important reminders before the shoot day.
6. Attend Session
When the big day arrives I check all of my equipment, pack my bag with my gear and information, and head off to the shoot!
7. Upload, Organize, and Proof
After the shoot, I save and upload all the photos and begin culling and organizing them. I usually go through them all once to delete unusable ones and then go back through them all with a color-coding system of which photos I like best. I use the following colors: yellow (chosen) and blue (proofed). The proofed ones usually just consist of basic color, lens, white balance, and saturation adjustments. As mentioned in my contract, I have two weeks from the date of a photo session to finish proofing.
8. Create Gallery, Upload, and Send Proofs
I use Pixieset for my website and gallery management service so once I finish proofing the photos from the shoot I create a new gallery with all the session info. Next, I upload the proofs and send an email to the client with directions on how to access the gallery and choose their favorites for final edits. I have Pixieset set to automatically apply my watermark to the photos and at this stage, clients are not allowed to download the proofs.
9. Client Chooses Finals
The client can take as long as they would like in choosing their final photos so at this stage I wait for their notification that they are finished choosing. To choose, the client can click a heart button on their favorite photos which then gets added to a list that I can access.
10. Send and File Final Invoice
If the client chooses more photos than what is included in their chosen package, I create a new invoice with the additional fees, send it to the client, and file it when I receive the payment. If no additional photos were chosen, I resend the original invoice in order for the client to pay the remaining balance for the package.
11. Complete Finals
With the list of the client's chosen images, I go back to organizing the photos by using the colors red (chosen final) and green (completed final). At this stage I complete all the final edits by enhancing irises, removing distracting backgrounds, ensuring consistency across photos, etc.
12. Upload and Send Finals
Next, I upload the completed photos to the gallery and send a download link and PIN to the client. In that same email, I also thank them for their business, send them a referral discount, and answer any questions that they may have.
13. Share Photos On Website and Instagram
Finally, I add some photos from the shoot to my website portfolio and post on Instagram featuring the session. After this point, I have finished my relationship with the photoshoot and will start the process over again whenever I schedule a new session with another client.
Did you like this post? Do you want to share with me what your photography workflow looks like? Leave a comment below! ♥


0 comments:
Post a Comment